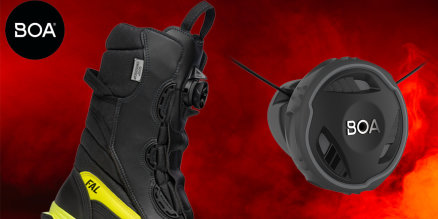
Informations and instructions on how to easily repair the BOA H3 lacing system on fire boots.
BOA was born in the Rocky Mountains in 2001 with a revolutionary performance fit system that transformed how snowboarders “dialed in” their boots. From the highest peaks to the valley floors, and beyond, we are passionate about inspiring and enabling you to perform at your best.
The BOA® Fit system is a revolutionary and award-winning, patented system integrated on market-leading brand partner products, making the world’s best gear even better. BOA’s innovative solutions are designed to enable consumers to dial in to fast effortless precision fit. Whether snowboarding in the Colorado back country, Alpine touring in Austria, participating in the Tour de France, competing in an ultra trail competition, hiking Mount Fuji, golfing at Augusta, or working in extreme outdoor conditions in northern Finland, BOA helps consumers perform at their peak.
Instructions on how to repair the BOA H3 lacing system on ski boots or fire boots
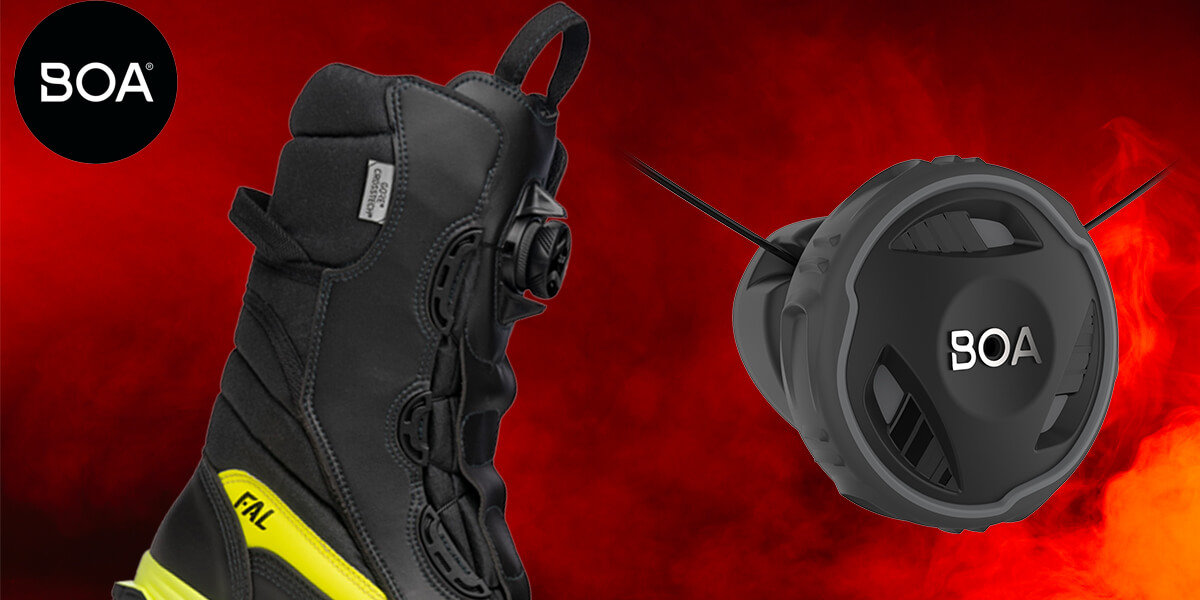
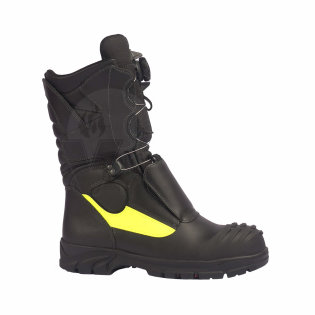
The BOA H3 System is found on firefighting boots or Snowboard boots. The BOA H3 System can appear in three different ways:
- On the tongue.
- On the outer side (lateral).
- On the inner side (medial).
Open the BOA H3 spare parts kit.
- Instructions (link za skidanje).
- Replacement reel.
A second kit contains replacement lace. You will also need a flathead screwdriver, key, or other flat object.
Disengage dial
- Pull out dial to loosen lace
Remove H3 reel from bayonet
- Locate the small window on the side of the bayonet.
- Press ta bin using a srewdriver, key, or other flat object.
- While pressing ta bin, turn only the reel housing (not the dial) clockwise until it stops.
- Pull the reel out to remove it from the bayonet.
Remove lace from spool
- Push lace back through hole #1 to create a loose loop.
- Unseat lace end from hole #3.
- Remove all lace from spool.
Check lace length
- Measure new lace next to old lace
- Lace lengths should be almost identical
Re-lace the boot
- Lace through all eyestay and tongue guides (start lacing at toe)
- Insert both ends into reel housing
Re-attach the lace to the spool
- Insert one end of lace into hole #1 and out the other side
- Circle back through hole #2 and out the other side
- Insert lace into hole #3
- With finger on lace loop, pull tight to fully seat lace loop
- Pull to tighten, removing excess slack
- Repeat for other side
Check to make sure all loops are pulled tight to the spool and not sticking out.
Replace H3 reel
- Pull excess lace to seat reel in housing
- Ensure no lace is caught under H3 spool
- Rotate dial to the left until reel locks into place and you hear a click
Test that it´s working
- Push dial in and make sure lace tightens smoothly
- Pull dial out to loosen
- Lace should release smoothly
